005_short_locator : Node Probing and Short Locator
Minimum Required Version: Expert 4.10.39.R
The Node Probing feature highlights (selects) all layout objects electrically connected with a given object. It is designed to trace electrically connected nodes throughout the hierarchy of a cell. It also allows the use of the Short Locator feature, which finds and traces the shortest path between a pair of specified points in the highlighted node, therefore highlighting the reason of the short.
1.1. Layer Connection Setup
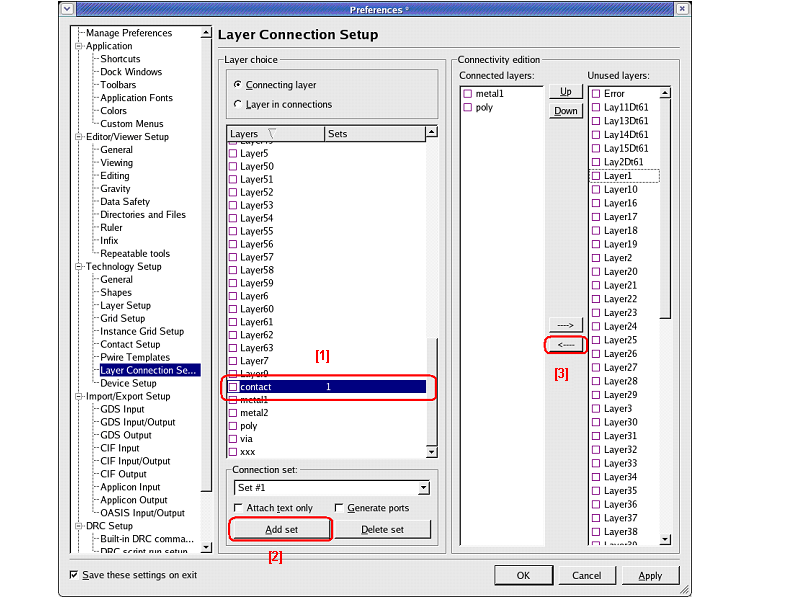
Before probing a node, layer-to-layer connectivity has to be assigned. The layer-to-layer connectivity can be set by selecting Setup->Technology->Layer Connection Setup (see layer_conn_setup.png ).
In order to set the layer-to-layer connectivity, perform the following steps.
- Load the editing_ex05.eld file.
- Open the Layer Connection Setup by selecting Setup->Technology menu. It displays the Layer Connection Setup dialog (see layer_conn_setup.png ).
- Select the "contact" layer from the Layer choice column ( layer_conn_setup.png : [1]).
- Click the "Add set" button in the Connection set column to add the connection information to the "contact" layer ( layer_conn_setup.png
: [2]).
"Set #1" is added. - Select the layers connected by the "contact" layer from the Unused layers list in the Connectivity edition. Select the layers "metal1" and "poly", then click the "<---" button. Those layers are moved to the Connected layers in the Connectivity edition ( layer_conn_setup.png : [3]).
- Repeat these steps for the "via" layer. Select the layers connected by the "via" layer from the Unused layers list in the Connectivity edition. Select the layers "metal1" and "metal2", then click the "<---" button.
1.2. Execution of the Node Probing
Load the editing_ex05.eld file, and then open the SO05T999_ST cell.
- Execute the Pick Node command by Verification->Node Probing or the Node Probing toolbar. The cursor is changed to the light bulb shape.
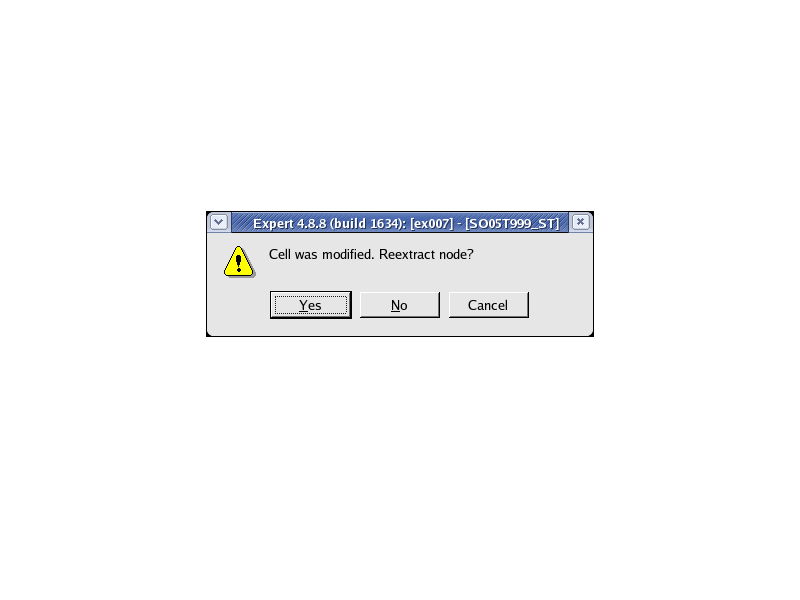
- Click the layer "poly", "metal1, or "metal2". A dialog is displayed asking the user to re-extract the connectivity information of the entire layout when the Pick Node command is executed for the first time (see re_extraction_dlg.png ). By clicking the "Yes" button, it extracts the connectivity information, then highlights the selected object.
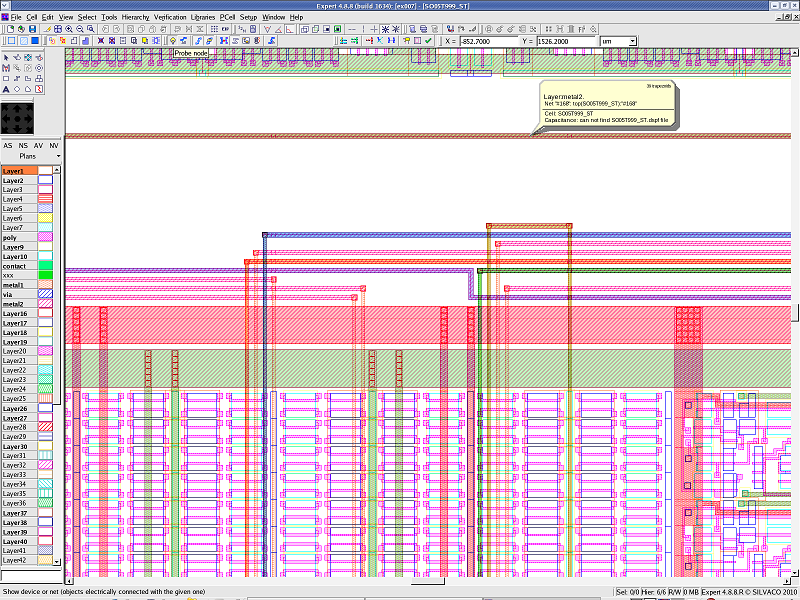
- If you want to highlight two or more nodes, hold the Shift key while using the Pick Node command (see nodeprobing.png ).
- If you want to cancel the node highlighting, click a location in the layout without an bject.
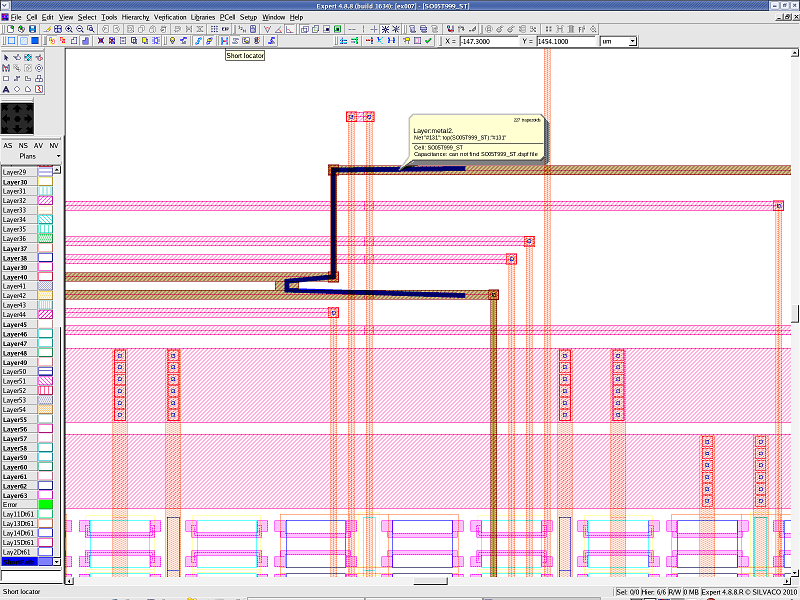
1.3. Execution of the Short Locator
In order to use the Short Locator tool, the shorted node must be highlighted by the Node Probing tool first. Two or more points are then user specified using the Short Locator cursor, each shortest path that ties the points is displayed using the "ShortPath" layer.
Load the editing_ex05.eld file, and then open the SO05T999_ST cell.
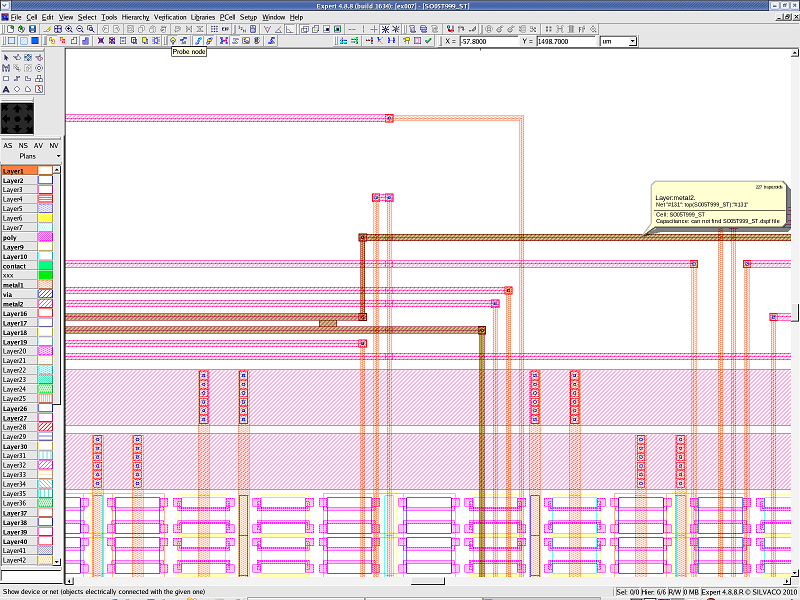
- Click X=-57.0, Y=1413.0 using Pick Node. The node is highlighted (see nodeprobing_wshort.png ).
- Execute the Short Locator command by selecting Verification->Node Probing or the Node Probing toolbar button.
- Click X=-74.0, Y=1413.0 as a start point, then double click X=-74.0, Y=1371.0 as an end point. For example, the start point could be on a known "NetA" and the end point could be a known "NetB". The tool displays the shortest path, between the two clicks, using the "ShortPath" layer. This new layer will then go through the geometry causing the short between the two known nets. The "ShortPath" layer can be inspected here (see short_locator.png ).
- If you want to delete the shortest path, click two points without the object.